 |
| Welcome Spring and all that it entails! |
 |
 |
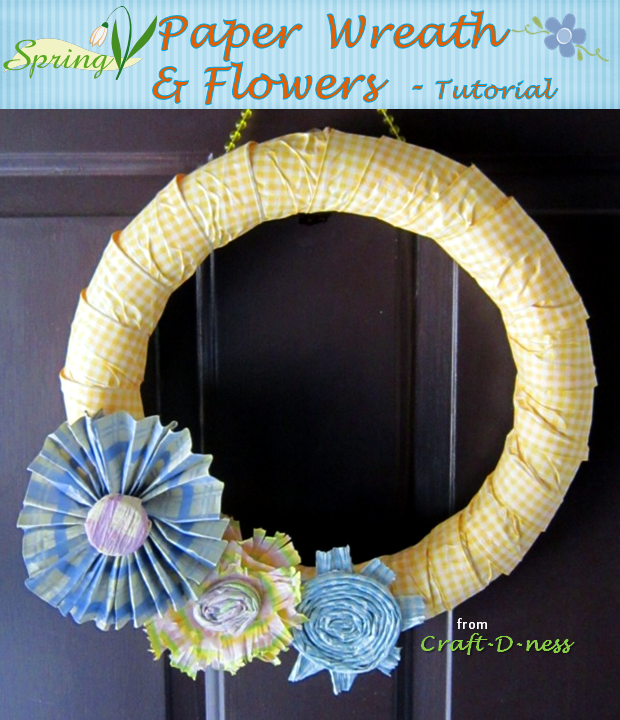
I covered the styrofoam form with this yellow gingham wired ribbon using straight pins, although the ribbon wire also helps it stay on the form.
 |
To make this blue gingham flower - I cut out a circle of thin cardboard and set it aside. Then I started rolling the twisted paper around hot gluing it to itself as I went around until I got it to the size I liked. Then I retrieved the circle of thin cardboard and glued the coiled flower to it. I wanted to embellish the flower further so I untwisted a few strands of the paper and glued them to the back of the cardboard circle. Finally, I used the cardboard circle as the contact to the wreath form, again using hot glue.
 |
To make the yellow flower, I removed the wire from both edges of the wired paper ribbon. Then I cut it into strips. I used my craft scissors to give a scalloped edge to the paper. Again, I used a cardboard circle to affix the paper petals layering them as I went around. Once they were attached, I cut them into a ruffle-like pattern so it looks like many little petals. For the flower center I coiled twisted paper, just as in the blue gingham flower above.
 |
Here I am removing the wire from one side of the paper ribbon. I used a set of jewelry pliers to pull it free.
 |
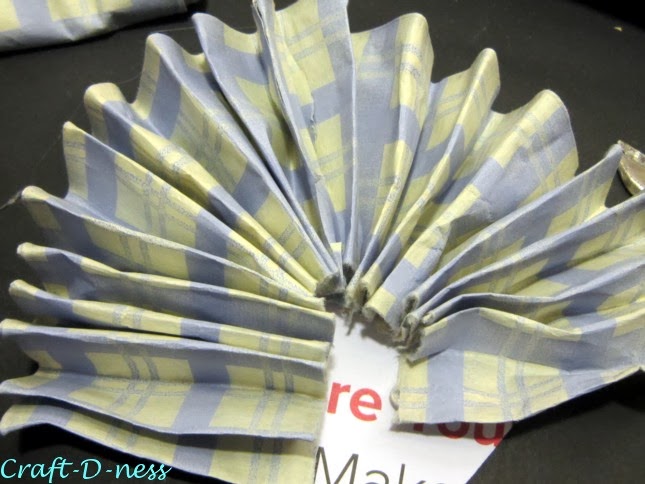
I only removed the wire from one side of the ribbon. The side I attached to the thin cardboard circle has no wire and the outer edge of the "fan petal" is wired to insure it holds the shape. I made 2 or 3 of these fan petal sections and attached them to the cardboard creating the fan flower.
 |
The fan flower had a hole in the center, so it was necessary to cover it by making a center "button" for the paper bloom. To accomplish this, I took a bottle lid and hot glued a piece of unfurled twisted paper to it.
 |
Here's a close-up of the finished trio of paper flowers. I really liked the results since working with twisted paper and wired paper ribbon was a first for me. However, I did make a Spring Wreath out of paper napkins once.
 |

Sharing at these great parties...Homework, A Peek Into My Paradise, Moonlight & Mason Jars, Family Home & Life, Savvy Southern Style, All Things Fee,
Follow Craft-D-ness
If you prefer, you may want to subscribe via Email:


No comments:
Post a Comment